The Text to Speech on Mac feature is a powerful tool that can transform the way you interact with your device. Whether you're visually impaired or simply prefer to listen rather than read, this feature can be a game-changer. In this guide, we'll explore how to use text to speech on Mac, its benefits, and some key tips to enhance your experience. We'll also introduce you to the TextSniper application, which takes text to speech to the next level.
What is Text to Speech on Mac?
Text to Speech on Mac is a built-in feature that allows your Mac to read out selected text. This feature is not only beneficial for those with visual impairments but also for anyone who wants to multitask or rest their eyes. It's a feature that gets better with each new release of MacOS, making it an invaluable tool for many users.
How to Enable Text to Speech on Mac
Enabling Text to Speech on your Mac is straightforward. Here's a step-by-step guide:
1. Click on the Apple logo in the top-left toolbar, then choose "System Settings."
2. Select "Accessibility."
3. Click on "Spoken Content."
4. Turn on "Speak selection."
Now, whenever you want your Mac to read out a piece of text, simply select the text and press the key combination 'Option + Esc'. Press the same combination to stop the speech.
Customizing Text to Speech on Mac
One of the advantages of the Text to Speech feature on Mac is that it's customizable. You can change the voice, the speaking rate, and even the key combination used to trigger the feature. To customize these settings, follow these steps:
1. Go to "System Settings" > "Accessibility" > "Spoken Content."
2. Click on the "System Voice" dropdown menu to select a different voice.
3. Use the "Speaking Rate" slider to adjust the speed of the speech.
How to Download New Voices
To add more diversity to your Text to Speech experience, you can download new voices. Here's how:
1. Go to "System Settings" > "Accessibility" > "Spoken Content."
2. Click on the "System Voice" dropdown menu and select "Manage voices..."
3. A new window will open with a list of available voices. Click the cloud icon next to the voices you want to download.
Using Siri Voices for Better Pronunciation
For a more natural-sounding voice, you can use Siri voices for Text to Speech on your Mac. Here's how:
1. Go to "System Settings" > "Accessibility" > "Spoken Content."
2. Click on the "System voice" dropdown menu.
3. Select the "Siri" option. You'll see a list of Siri voices available. To download other voices press the " Manage voices..." option at the bottom of the list.
4. Choose the Siri voice you prefer and click "Download."
Remember, you can always test the voice by using the "Play" button and adjust the speaking rate to your preference.
TextSniper: Text to Speech and Beyond
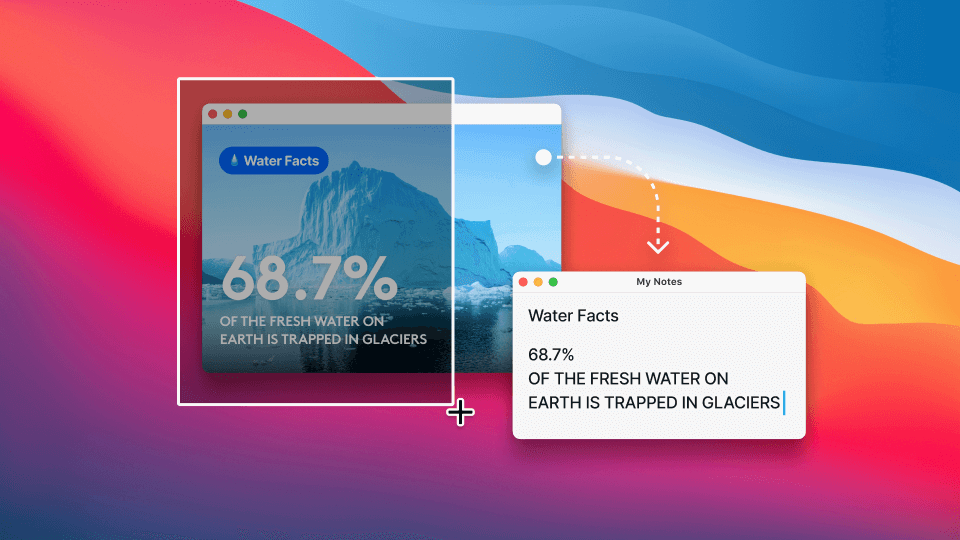
While the built-in Text to Speech feature on Mac is quite robust, there are also several third-party applications that offer more advanced features. One such application is TextSniper. TextSniper not only offers a text to speech feature, but it can also read text from images, videos, or other content where the text is not selectable. This feature can be incredibly useful for extracting and reading text from screenshots, infographics, videos, and more.
Conclusion
The Text to Speech feature on Mac is a powerful tool that can greatly enhance your Mac experience. Whether you're using it for accessibility reasons or simply to make your life a little easier, it's a feature worth exploring. And with applications like TextSniper, the possibilities for text to speech are expanding even further.