Over the years, people have been looking to capture a small portion of their screens to save text, images, videos, and save files that are impossible to copy-paste. Although it’s possible to use the screenshot features on your computer, the problem is most of them have their limits.
However, there is good news because developers have come up with snipping tools to help you screen capture mac images. Read on to discover what is the best snipping tool for mac to use in 2022.
Best snipping tools for Mac
1. TextSniper App
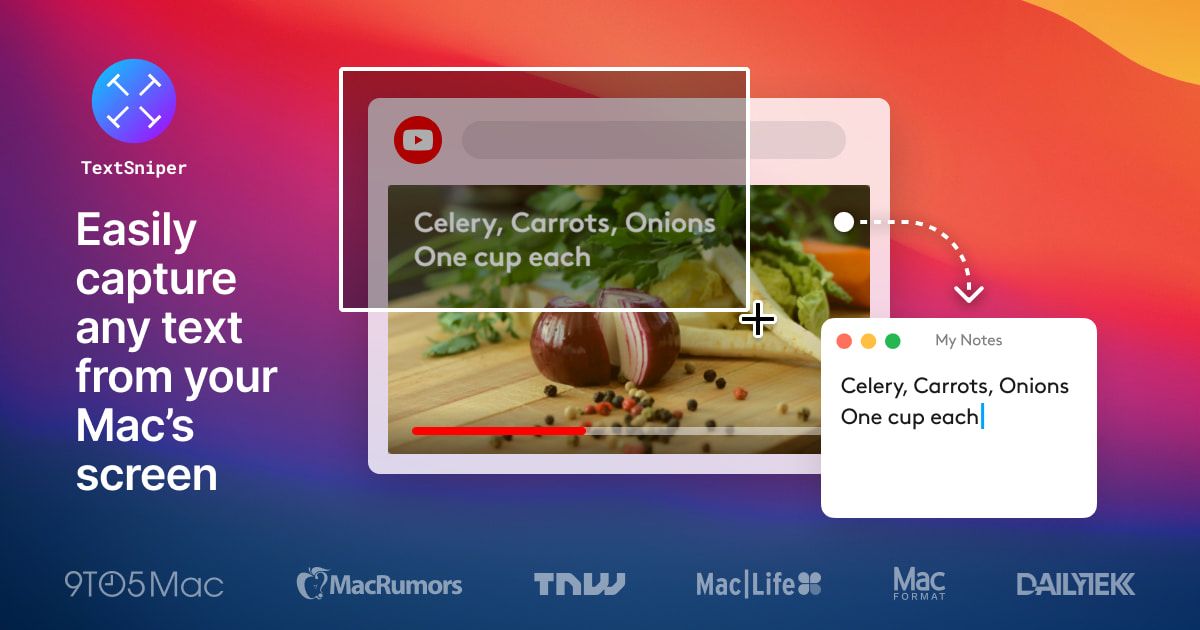
Textsniper app is a Mac snipping tool that helps extract text from pdf files, images, or even videos. The app is quite easy to use even for beginners as it offers tutorials on its main website.
When it comes to pricing, the tool is relatively cheap. The software charges $6.99 to license one macintosh operating system. Preferably, you can be charged $9.99 for three Mac operating systems.
2. Monosnap
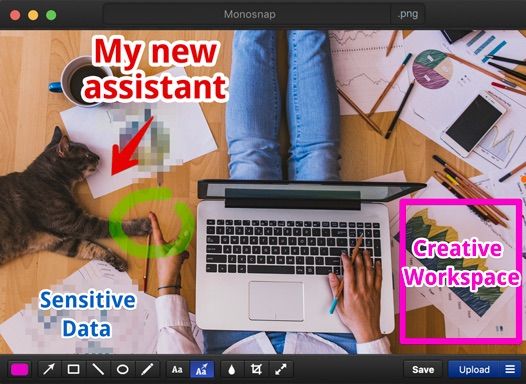
Monosnap works well with Macintosh OS, Chrome, and Windows software. The app is free of charge for single users while non-commercial ones pay $2.50 and commercial - $5.
Here is the best part. Monosnap can function both as cloud storage and a secure content management software.
Its features include excellent video editing tools, a free cloud storage platform, customizable hotkeys, personal information hiding tool, and more.
3. Lightshot
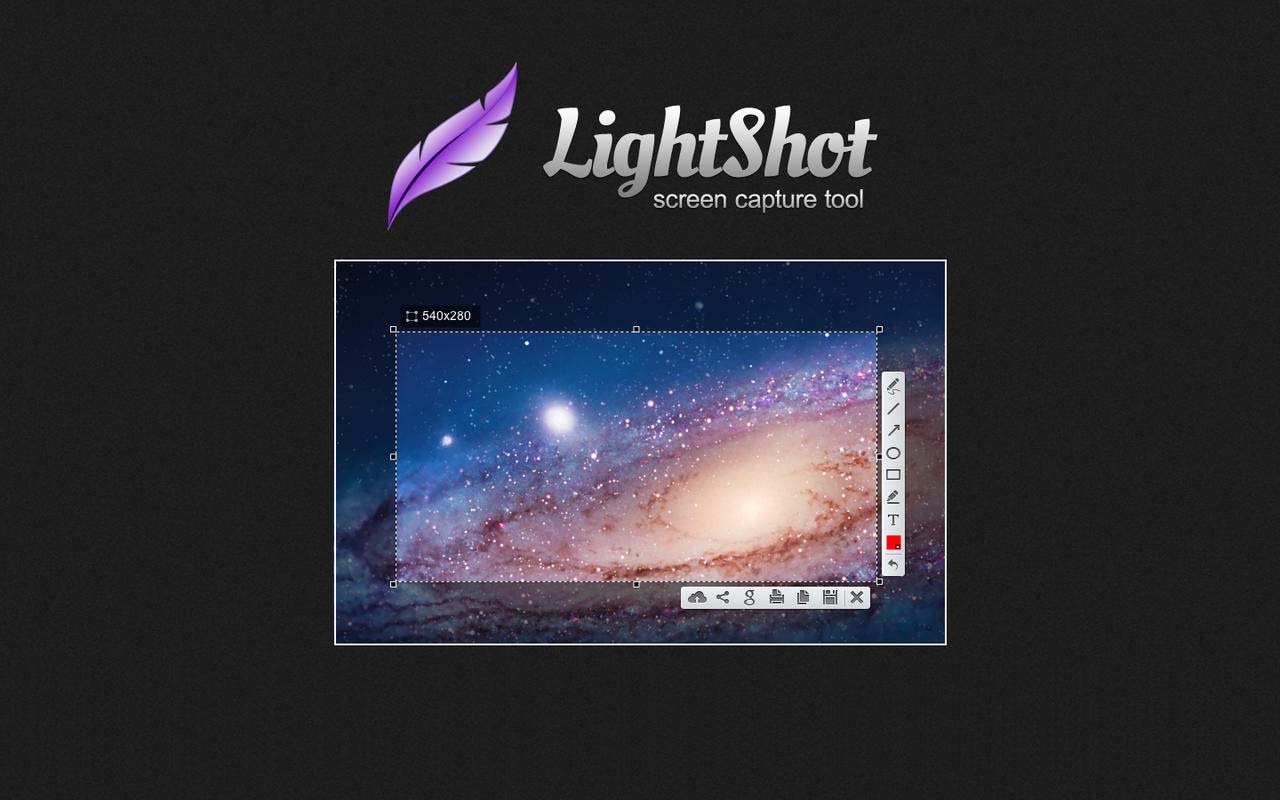
If you are looking for the fastest way to take a screenshot in 2022, Lightshot is your ideal snipping tool. The good news is that Lightshot is the best free snipping tool for Mac in terms of services.
Its features include a fast screenshot of any selected area on your screen and allowing you to find similar images when you search. Additionally, the app helps you add shapes, texts, and color to your images.
4. SnapNDrag
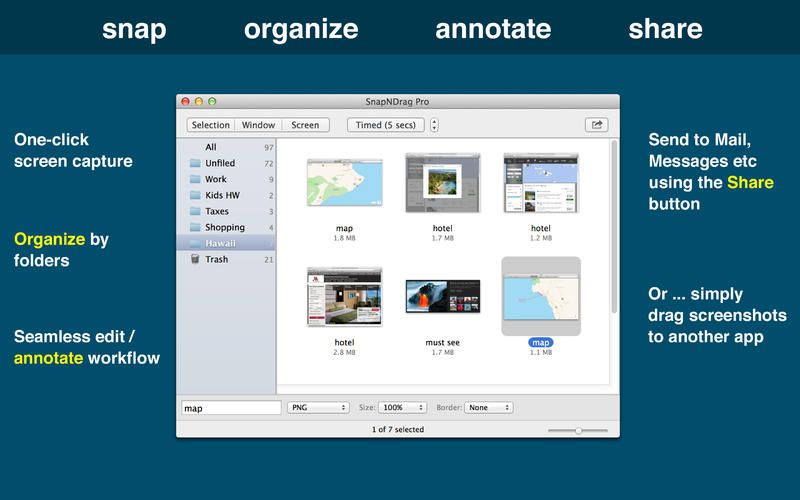
SnapNDrag is ridiculously easy to use snipping tool which comes in both free and paid versions. The free version offers features such as deleting, renaming and searching.
On the other hand, the paid pro version goes for $10 and has features like resizing images, turning off adverts, assigning global hotkeys and all other free version features.
Additionally, the tool works well with Facebook, Twitter, email, and others.
5. Snagit
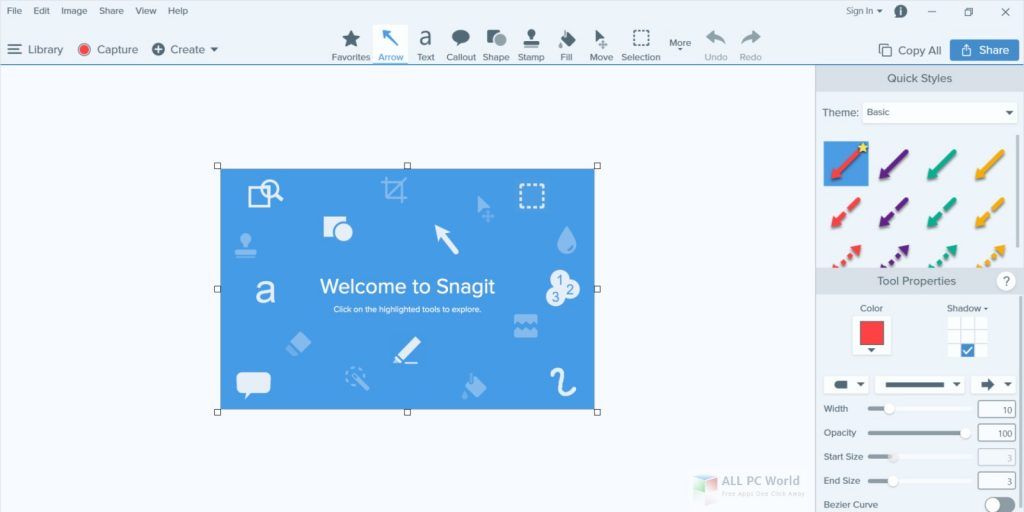
Snagit is one of the most popular mac snipping tools in 2022. Further, you only purchase this software once at $49.99. Snagit is excellent at recording audios, making animated gifs, trimming video clips, screen recording, panoramic scrolling capture, and many more features.
The software is also simple to use as it requires three steps. They include capturing your screen, adding additional context, and sharing the end product.
How to Snip on Mac
For you to snip on Mac, all you need is basic screenshot skills. Mac offers you various options, such as using a screen shortcut for different types of screen capturing (area, window, and the entire screen).
Read on to know the ropes of snipping on Mac.
1. Command + Shift + 2
This method is one of the fastest ways to screenshot on your Mac. The technique comes in handy when you need to capture something temporarily. It involves holding the COMMAND + SHIFT + "3" simultaneously, and as a result, the captured part is pasted directly to your desktop.
The keys function similarly to the ones on Windows. After the screenshot is captured, a thumbnail preview appears on the lower right side of your screen. If you want to view the whole Mac snipping tool, click the thumbnail.
You can now perform annotating, editing, and rotating tasks before saving on the desktop with the entire screen.
2. Command + Shift + 4
Preferably, you can screenshot using CMD+SHIFT+4 to capture your content seamlessly. With this technique, you can select the section you need to be captured. Additionally, you can specifically select what is needed and leave the rest. Here is the simple process.
- Press the CMD + SHIFT + 4 simultaneously until a small bull's eye appears on the screen.
- Click the top-left corner of the area you need to screenshot using your mouse or touchpad.
- Hold and drag the cursor to mark the entire area you need to screenshot.
- Release the mouse to capture the image.
After that, a tiny screenshot preview appears on the lower right-hand corner of the screen. Unfortunately, the image disappears after a few seconds, so you might need to make your edits fast. Notably, if you make a mistake while editing, cancel the box to copy the initially captured image on your screen.
3. Command + Shift + 5
The feature is the newest technique you can use to screenshot your apple screen. When you use this method, an overlay window pops out to allow you to select a full-screen, a window, or a selection screenshot.
With this feature, you can record videos of the entire screen or a selected portion. Additionally, it allows you access to two more options. These include choosing where to save the file and setting a timer of 5-10 seconds to ensure your file is perfect.
Capturing screenshots on your Mac should be easy and fun. Additionally, you don't have to memorize shortcuts because the above tools have been developed to make snipping easy. The tools also offer tutorials on their interface to ensure you don't get lost as you navigate them. All that is left is for you to choose the app that suits your needs.